
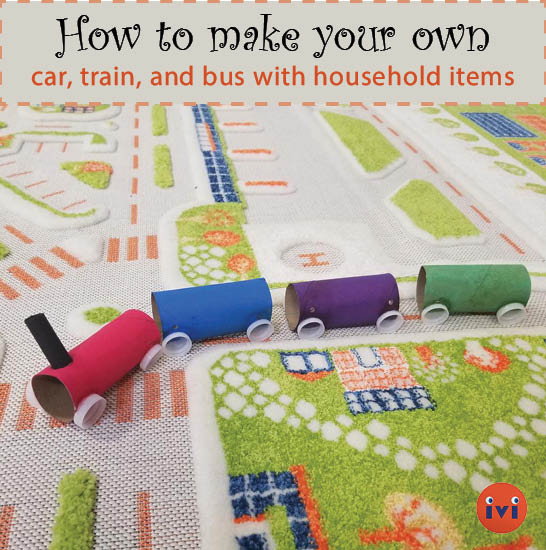
Easy DIY arts and crafts car, train, and bus for indoor play time!
Features
Mon, Jul 27, 2020
By Jennifer Waldman
Are your kids tired of the same old toys day after day? Are you tired of buying them new ones only for them to get tossed to the side? Maybe it's time to make some of your own! Below we will show you how to make a DIY car, train, and bus from easily found, common household materials.
How to make an arts and crafts toy car

IVI 3D Play Carpet Traffic Green
You will need:
- 1 Cardboard Roll (you can use toilet paper rolls or paper towel rolls cut in half)
- Paint, markers, crayons, and/or stickers
- 4 Bottle Caps
- Glue (a hot glue gun works best)

IVI 3D Play Carpet Traffic Green
Step 1
Paint the cardboard tube. If you don’t have paint, you can decorate with markers, crayons, colored pencils, stickers, or whatever else you may have around the house. Get creative with it!
Step 2
Take your bottle caps and glue them on each “corner” of the cardboard tube. You can also decorate these with stickers or glitter glue if you’d like!
How to make an arts and crafts toy train


You will need:
- 4 Cardboard Rolls (you can use toilet paper rolls or paper towel rolls cut in half)
- 1 Piece of Construction Paper (or any thick paper that will hold its shape)
- 16 Bottle Caps
- Paint, markers, crayons, and/or stickers
- Yarn, string, or thread
- Hole Punch (or something that can be used to make a hole through the cardboard)
- Glue (a hot glue gun works best)
- Scissors

Step 1
Cut a small hole in the front top of one of your cardboard tubes. This will be used as the first car and is where your construction paper “smoke stack” will go. Cut a small rectangle of construction paper and wrap it into a cylinder shape then glue it closed. Keep this piece handy for later!
Step 2
Paint your cardboard tubes. Again, if you don’t have paint, you can decorate with markers, crayons, colored pencils, stickers, or whatever else you may have around the house. Each cardboard tube will be a new train car, so your kids can name and number them as well!
Step 3
Once the paint on your cardboard tubes is finished drying, glue your construction paper “smoke stack” into the small hole you created on the top of one of your cardboard tubes. Next, glue 4 bottle cap wheels onto each cardboard tube.
Step 4
Punch 4 holes into each “corner” of your cardboard tubes (you can leave out the front of the first car and the back of the last car). Cut your pieces of string, thread, or yarn into the desired length and use them to secure each train car together through the hole punches you just made.
How to make an arts and crafts toy bus

IVI 3D Play Carpet Beach Houses
You will need:
- 1 Egg carton
- Markers, crayons, stickers, and/or paint (this will be used to decorate your bus)
- 4 large bottle caps
- Glue (a hot glue gun works best)
- Scissors

IVI 3D Play Carpet Beach Houses
Step 1
Get a pencil and mark out a rectangle on both the front and back of the egg carton for your front and rear-view windows. Mark another large rectangle on the top of the carton so you can see inside once it’s cut. This large rectangle should be about 2/3 of the back end of the carton. Once you’re happy with your pencil markings, get to cutting! If you want, you can also cut small passenger windows on both sides of the egg carton.
Step 2
Glue your bottle caps on each corner to act as the wheels of your bus.
Step 3
Get to decorating! Use markers, crayons, glitter glue, paint, stickers, or whatever you can think of to decorate your bus. You can even draw headlights and windshield wipers to make it look more like a real bus.
When you’re all finished, add in your favorite small toys as your passengers. Don’t forget to add a bus driver too!


Related Posts
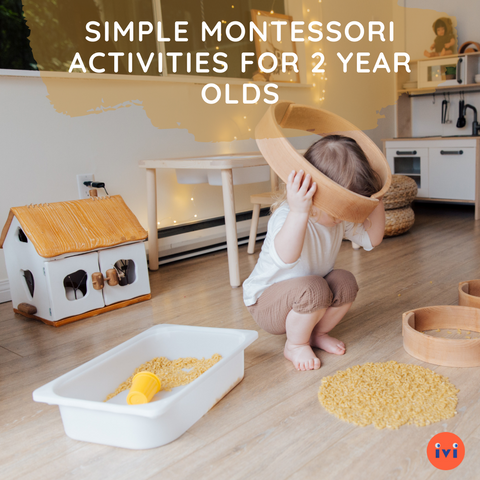
Simple Montessori Activities for 2 year-olds
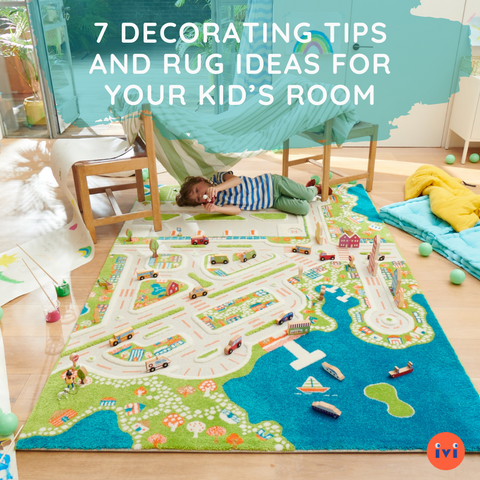
7 Decorating Tips and Rug Ideas for Your Kid’s Room
Leave a comment